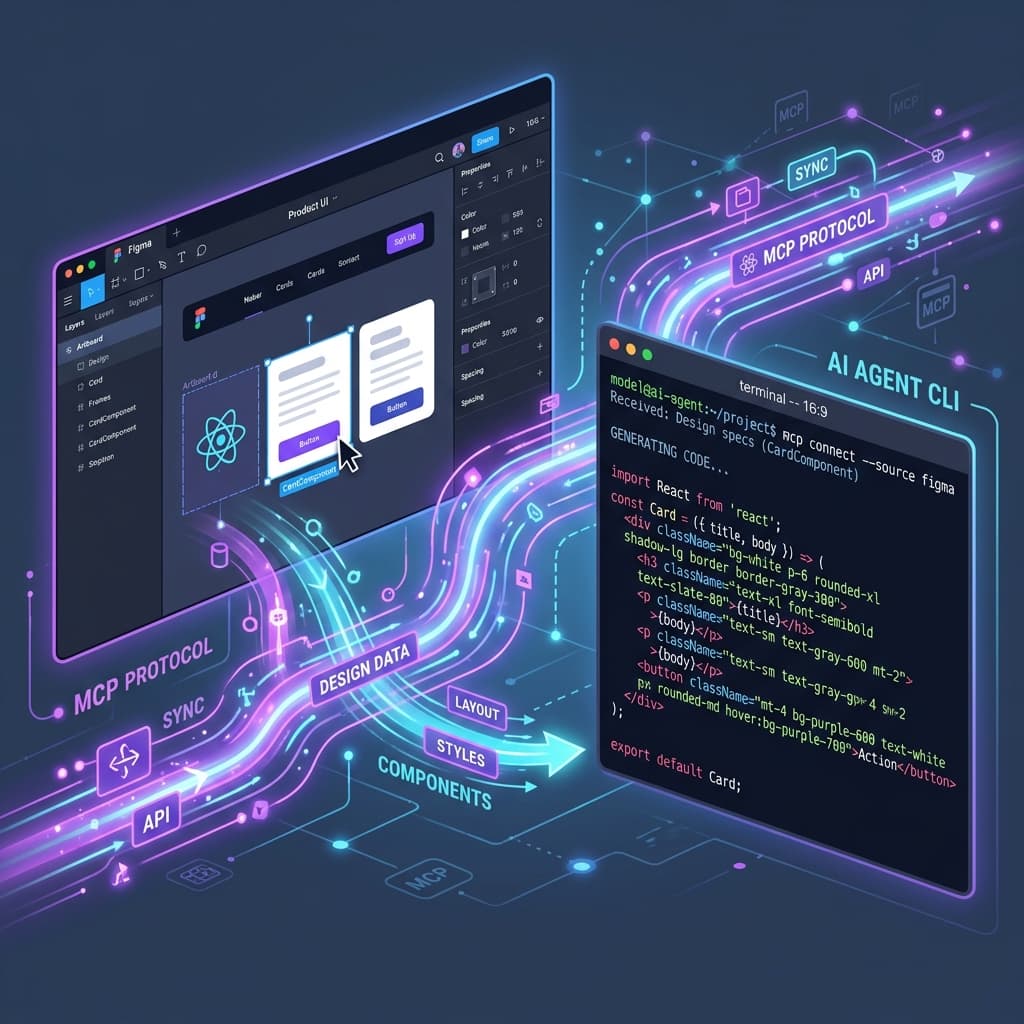

For years, the design handoff process has been a constant source of friction in software development teams. Developers had to manually inspect Figma files, decipher CSS attributes, and rebuild UI layouts line by line.
The advent of the Model Context Protocol (MCP) and open-source tools like GLips/Figma-Context-MCP enables AI coding agents (OpenCode, Pi, Claude Code, Codex) to read Figma's internal data tree directly (Auto-Layout, Flexbox rules, color variables, and typography tokens) and generate pixel-perfect React, Tailwind CSS, or HTML components.
Here is a complete step-by-step tutorial for setting up this MCP server and integrating it into your engineering workflow.
Step 1: Generate Your Figma Personal Access Token (PAT)
To allow the MCP server to communicate securely with the Figma REST API, generate an access token:
- Log in to Figma in your web browser.
- Click your profile avatar (top-left corner) and select Settings.
- Scroll down to the Personal Access Tokens section.
- Click Create new token, name it (e.g.
mcp-developer-token), and select the read scope (file_read). - Copy the generated token string immediately.
Step 2: Configure the MCP Server Environment
Choose one of two installation methods depending on your local development pipeline.
Option A: Quick Execution via npx (Recommended)
This is the fastest approach for CLI agents and editors like Cursor, Claude Desktop, or Windsurf:
{
  "mcpServers": {
    "figma-developer-mcp": {
      "command": "npx",
      "args": ["-y", "figma-developer-mcp", "--stdio"],
      "env": {
        "FIGMA_API_KEY": "YOUR_FIGMA_PAT_TOKEN"
      }
    }
  }
}
Option B: Local Setup via Git Repository
If you prefer auditing the source code or extending token parsing logic:
git clone https://github.com/GLips/Figma-Context-MCP.git
cd Figma-Context-MCP
pnpm install
cp .env.example .env
Add your token to .env:
FIGMA_API_TOKEN=your_figma_pat_token
Build and launch:
pnpm build
pnpm start
Step 3: Connect the MCP Server to Your AI Coding Agent
Configuration file locations vary by operating system and client interface:
- macOS (Claude Desktop / Cursor):
~/Library/Application Support/Cursor/mcp.jsonor~/Library/Application Support/Claude/claude_desktop_config.json - Windows (Claude Desktop / Cursor):
%APPDATA%\Cursor\mcp.jsonor%APPDATA%\Claude\claude_desktop_config.json - Claude Code CLI: Run
claude mcp add figma-developer-mcp -- npx -y figma-developer-mcp --stdio
| AI Coding Agent | Agent Profile & Connection Method |
|---|---|
| Claude Code | Official Anthropic terminal agent. Loads tools via global config or CLI flags. |
| OpenCode | Model-agnostic open-source CLI agent. Loads tools from ~/.config/opencode/mcp.json. |
| Pi | Lightweight agent optimized for low latency execution. Connects via stdio transport. |
| Codex | Agentic IDE environment. Direct connection via workspace mcpServers. |
Step 4: The Design-to-Code Workflow in Practice (Technical Prompting)
Once connected, your AI agent can query Figma node metadata autonomously.
- Open your Figma design file and copy the URL of the target frame or component:
https://www.figma.com/design/FILE_ID/TITLE?node-id=123-456 - In your CLI terminal or agent chat (OpenCode, Pi, Claude Code, Codex), provide a structured prompt:
"Inspect the Figma node https://www.figma.com/design/xyz/app?node-id=102-45 and generate a functional React TypeScript component using Tailwind CSS v4. Respect Auto-Layout padding, font weights, and inline embedded SVG icons."
Under the hood:
- The agent invokes the MCP tool to fetch the structured JSON node tree (
node-id=102-45). - The MCP server returns clean flexbox layout attributes (
layoutMode: HORIZONTAL,itemSpacing: 16,paddingLeft: 24), color hex values, and semantic layer labels. - The agent compiles the data and writes a production-ready
.tsxfile directly into your workspace.
📊 Frontend UI Implementation Benchmark:
- Manual Coding: 3 to 4 hours per screen ➔ Spacing discrepancies ➔ Continuous design revisions
- Figma-Context-MCP + AI Agent: 15 to 20 minutes per screen ➔ 95% structural fidelity ➔ Clean code
🔒 Optimize Engineering Workflows and AI Tooling in Your Business
Adopting context-aware coding agents requires architectural guardrails to prevent technical debt. At IA4PYMES, we help engineering teams configure agentic tools, connect repositories, and automate frontend pipelines securely.
Book your 60-minute technical consultation here (100% refundable or credited against final development costs).
Pro-Tips for Production Code Generation
- Maintain Auto-Layout Discipline: Always construct Figma layers using Auto-Layout. Absolute positioning forces the agent to generate fixed inline coordinates rather than responsive CSS.
- Name Layers Semantically: Naming layers
Header,PrimaryButton, orUserCardallows the agent to infer proper semantic HTML elements (<header>,<button>,<article>). - Pair with Frontier Reasoning Models: For complex responsive layouts, pair the agent with frontier coding models like Claude Opus 5 or GLM-5.2.
- Implement Observability: Track agent trajectory execution in production as outlined in our AI Agent Evaluation Gap Guide.